Everybody knows that GitLab can be used to store our source code. But, GitLab can do more than that. Using the GitLab CI/CD we can automate our development workflow. It helps us to test, build, and deploy our code right from our repository in GitLab. That sounds great, but using the GitLab CI/CD can be confusing at first. So, in this post let’s take a look at using GitLab CI/CD for Go projects. For now, we will focus on the CI part, but I am planning to include CD as well using the Docker and AWS, but later.
If you want to skip details, see the complete configuration.
Prerequisites
Having at Least One Runner Available
Runners are agents that run CI/CD jobs. So, there have to be at least one available. Good news is that there might already available runners for our project. Check that at Project > Settings > CI/CD > Runners. If there is at least one runner that’s active, then skip to the next section. If not, then we must register at least one runner. Follow the steps below for registering one:
Here is a complete example for mac users (Apple silicon based):
# Download GitLab Runner binary
sudo curl --output /usr/local/bin/gitlab-runner "https://gitlab-runner-downloads.s3.amazonaws.com/latest/binaries/gitlab-runner-darwin-arm64"

# Make it executable
sudo chmod +x /usr/local/bin/gitlab-runner

# Register a runner
gitlab-runner register \
--non-interactive \
--url "GitLab instance URL (for ex. https://gitlab.com/)" \
--registration-token "Project > Settings > CI/CD > Runners > under 'Specific runners' find the registration token" \
--executor "docker" \
--docker-image "alpine:latest" \
--description "description"

# You can check config file at ~/.gitlab-runner/config.toml
cat ~/.gitlab-runner/config.toml

# Start runner
cd ~
gitlab-runner install
gitlab-runner start

# You can check service file at ~/Library/LaunchAgents/gitlab-runner.plist
cat ~/Library/LaunchAgents/gitlab-runner.plist

# Verify
gitlab-runner verify
Go Project
A simple project is enough for the demonstration; imports an example package and prints hello. Feel free to check repositories. Since we are using an example package, later we can make it private for testing private go modules.
package main

import (
	"fmt"

	example "gitlab.com/aemdemir/gitlab-ci-cd-for-go-example-package"
)

func Hello() string {
	return example.Hello()
}

func main() {
	h := Hello()
	fmt.Println(h)
}
package example

// Hello simply returns a hello.
func Hello() string {
	return "hello"
}
Configuration File
Now we have a Go project. Let’s create a configuration file for that. It is called the .gitlab-ci.yml.
Define Stages
First thing is to define stages. Stage order matters since it defines the execution order. Stages contain group of jobs and jobs in the same stage run in parallel. In our case, there will be three stages: test, build, and release.
stages:
  - test
  - build
  - release
Define Go Module Setup
Continue with defining go module setup. We do that using job templates. Using templates helps us to reuse configurations we define and to keep a particular configuration in one place, and reduce complexity. Leading dot (.) makes a job hidden, so it is not proccessed by GitLab CI/CD.
- define .go_mod_setup as a template
- set GOPATH
- use CI_PROJECT_DIR since GitLab CI/CD doesn’t cache outside of it- create .go folder which is our go path
- cache dependencies
.go_mod_setup:                  #1
  variables:
    GOPATH: $CI_PROJECT_DIR/.go #2
  before_script:
    - mkdir -p .go              #3
  cache:
    paths:
      - .go/pkg/mod/            #4
This setup works great with public modules, but how about the private ones? No worries, we can make a litte modification to the above configuration to access private go modules. Details on private modules can be found here.
- set GOPRIVATE
- create .netrc file to specify credentials to access private repositories
- CI_JOB_TOKEN gives us access to the GitLab API endpoints
.go_mod_setup:
  variables:
    GOPATH: $CI_PROJECT_DIR/.go
    GOPRIVATE: gitlab.com #1
  before_script:
    - mkdir -p .go
    - echo "machine gitlab.com login gitlab-ci-token password $CI_JOB_TOKEN" > ~/.netrc #2
  cache:
    paths:
      - .go/pkg/mod/
Define Go Setup
Setting up go modules is done. But we are missing something, and it’s the go itself. We can define go setup by extending .go_mod_setup. Let’s define it as a job template, so we can reuse it afterwards.
- define .go_setup as a template
- extend .go_mod_setup
- specify go image
- add git since git is not included in go alpine
- merge .go_mod_setup’s before_script section using reference
-extendscan’t merge lists, so in this case we have to find a way to reuse .go_mod.setup’s before_script section. this can be achieved using reference; simply reference .go_mod_setup’s before_script section in the current section.
.go_setup:                                      #1
  extends: .go_mod_setup                        #2
  image: golang:1.18.3-alpine3.16               #3
  before_script:
    - apk add --no-cache git                    #4
    - !reference [.go_mod_setup, before_script] #5
Test Stage
We have our setups ready, now it’s time to start writing the actual jobs.
Let’s write test app. Thanks to .go_setup template it seems so simple and clean.
test app:                                   #1 set job name
  extends: .go_setup                        #2 extends .go_setup
  stage: test                               #3 specify stage
  script:
    - CGO_ENABLED=0 go test -v -cover ./... #4 run tests
The second one is lint. Notice that we extend .go_mod_setup instead of .go_setup. This is because golangci-lint image already contains the go setup, and git.
lint:                                          #1 set job name
  extends: .go_mod_setup                       #2 extends .go_mod_setup
  stage: test                                  #3 specify stage
  image: golangci/golangci-lint:v1.46.2-alpine #4 specify golangci-lint image
  script:
    - golangci-lint run -E gofmt               #5 run lint (-E gofmt enables gofmt linter which checks whether code was gofmt-ed)
Jobs in the same stage run in parallel.
Build Stage
Continue with the build stage. It just has one job called build app.
build app:            #1 set job name
  extends: .go_setup  #2 extends .go_setup
  stage: build        #3 specify stage
  script:             #4 run go build, CI_COMMIT_REF_NAME corresponds to the branch or tag name, it's the tag name if pipeline is triggered by a tag
    - CGO_ENABLED=0 GOOS=linux GOARCH=amd64 go build -ldflags="-s -w" -o=./bin/$CI_COMMIT_REF_NAME-linux-amd64 .
  artifacts:
    paths:
      - bin/          #5 specify artifacts path, this is the output of the go build
    expire_in: 1 hour #6 set expiration, keep in mind that the latest artifacts won't be deleted (even if expired) until newer artifacts are available
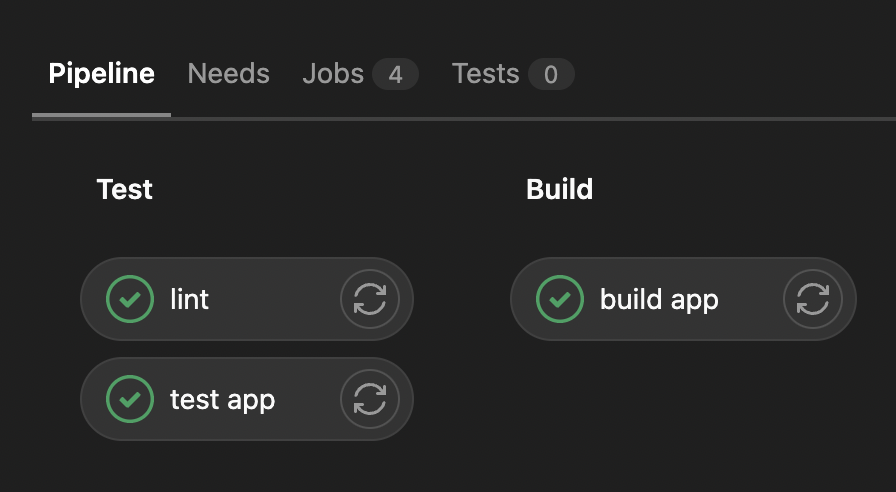
After these configurations, if we push a commit to GitLab, we can see test & build stages in action at Project > CI/CD > Pipelines > Click on latest pipeline's id or status.

Test & Build stages in action
Release Stage
Now, we are in the final stage which is the release stage. This one should also be simple. It’s a seems a bit longer due to commands we use, but don’t be afraid of that. Release stage is go independent. It only considers the output of the build stage which is the artifacts. It will use GitLab Package Registry to host the artifacts.
- set job name
- specify stage
- specify release-cli image
- set variables to use them later in script section
- FILENAME: name of the file to upload. this is the output of the build stage.
- FILE_URL: url to upload the file. it is actually the url of the package registry.- set rules to include or exclude a job from pipeline. we set is as a tag takes the form
vX.Y.Zwhere X, Y, and Z are non-negative integers, and don’t contain leading zeroes. for example, we will have a release for tagv0.1.0, but not fortest-tag- add curl
- upload binary to package registry
- use release-cli to create a release
create release:                                             #1
  stage: release                                            #2
  image: registry.gitlab.com/gitlab-org/release-cli:latest  #3
  variables:                                                #4
    FILENAME: "$CI_COMMIT_TAG-linux-amd64"
    FILE_URL: "$CI_API_V4_URL/projects/$CI_PROJECT_ID/packages/generic/release/$CI_COMMIT_TAG/$FILENAME"
  rules:                                                    #5
    - if: $CI_COMMIT_TAG =~ /^v(0|[1-9]\d*).(0|[1-9]\d*).(0|[1-9]\d*)$/
  script:
    - apk add --no-cache curl                               #6
    - echo "Releasing $CI_COMMIT_TAG..."
    - >                                                     #7
      curl
      --header "JOB-TOKEN: $CI_JOB_TOKEN"
      --upload-file "bin/$FILENAME"
      "$FILE_URL"
    - >                                                     #8
      release-cli create
      --name "$CI_COMMIT_TAG"
      --description "Created using the release-cli"
      --tag-name "$CI_COMMIT_TAG"
      --ref "$CI_COMMIT_TAG"
      --assets-link "{\"name\":\"$FILENAME\",\"url\":\"$FILE_URL\"}"
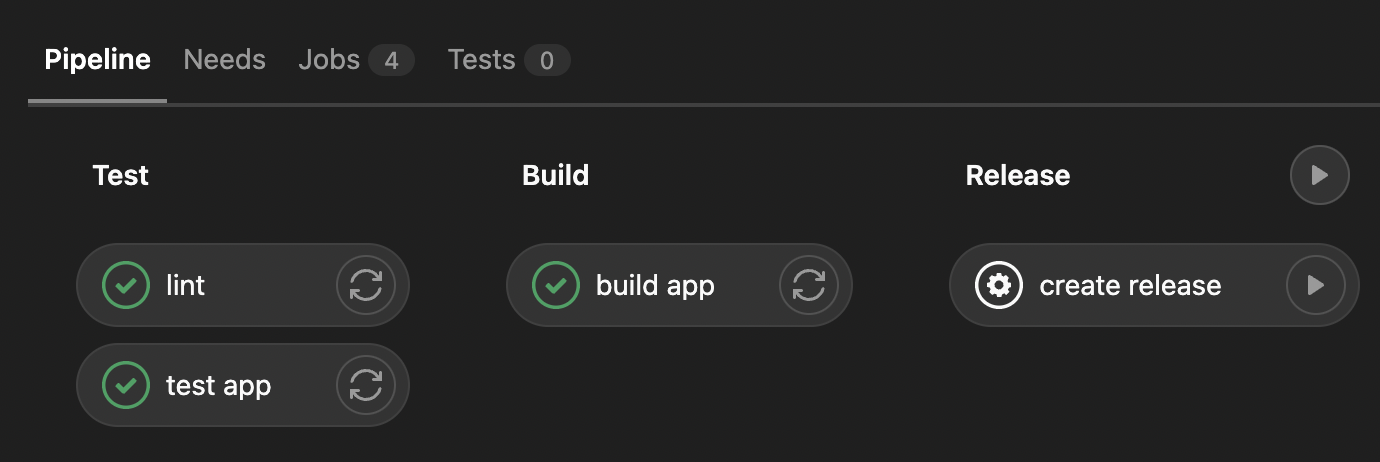
Below is an alternative rule to manage release creation manually. It adds this job into pipeline just for the tags, and runs it manually.
rules:
    - if: $CI_COMMIT_TAG
      when: manual

Manage release creation manually
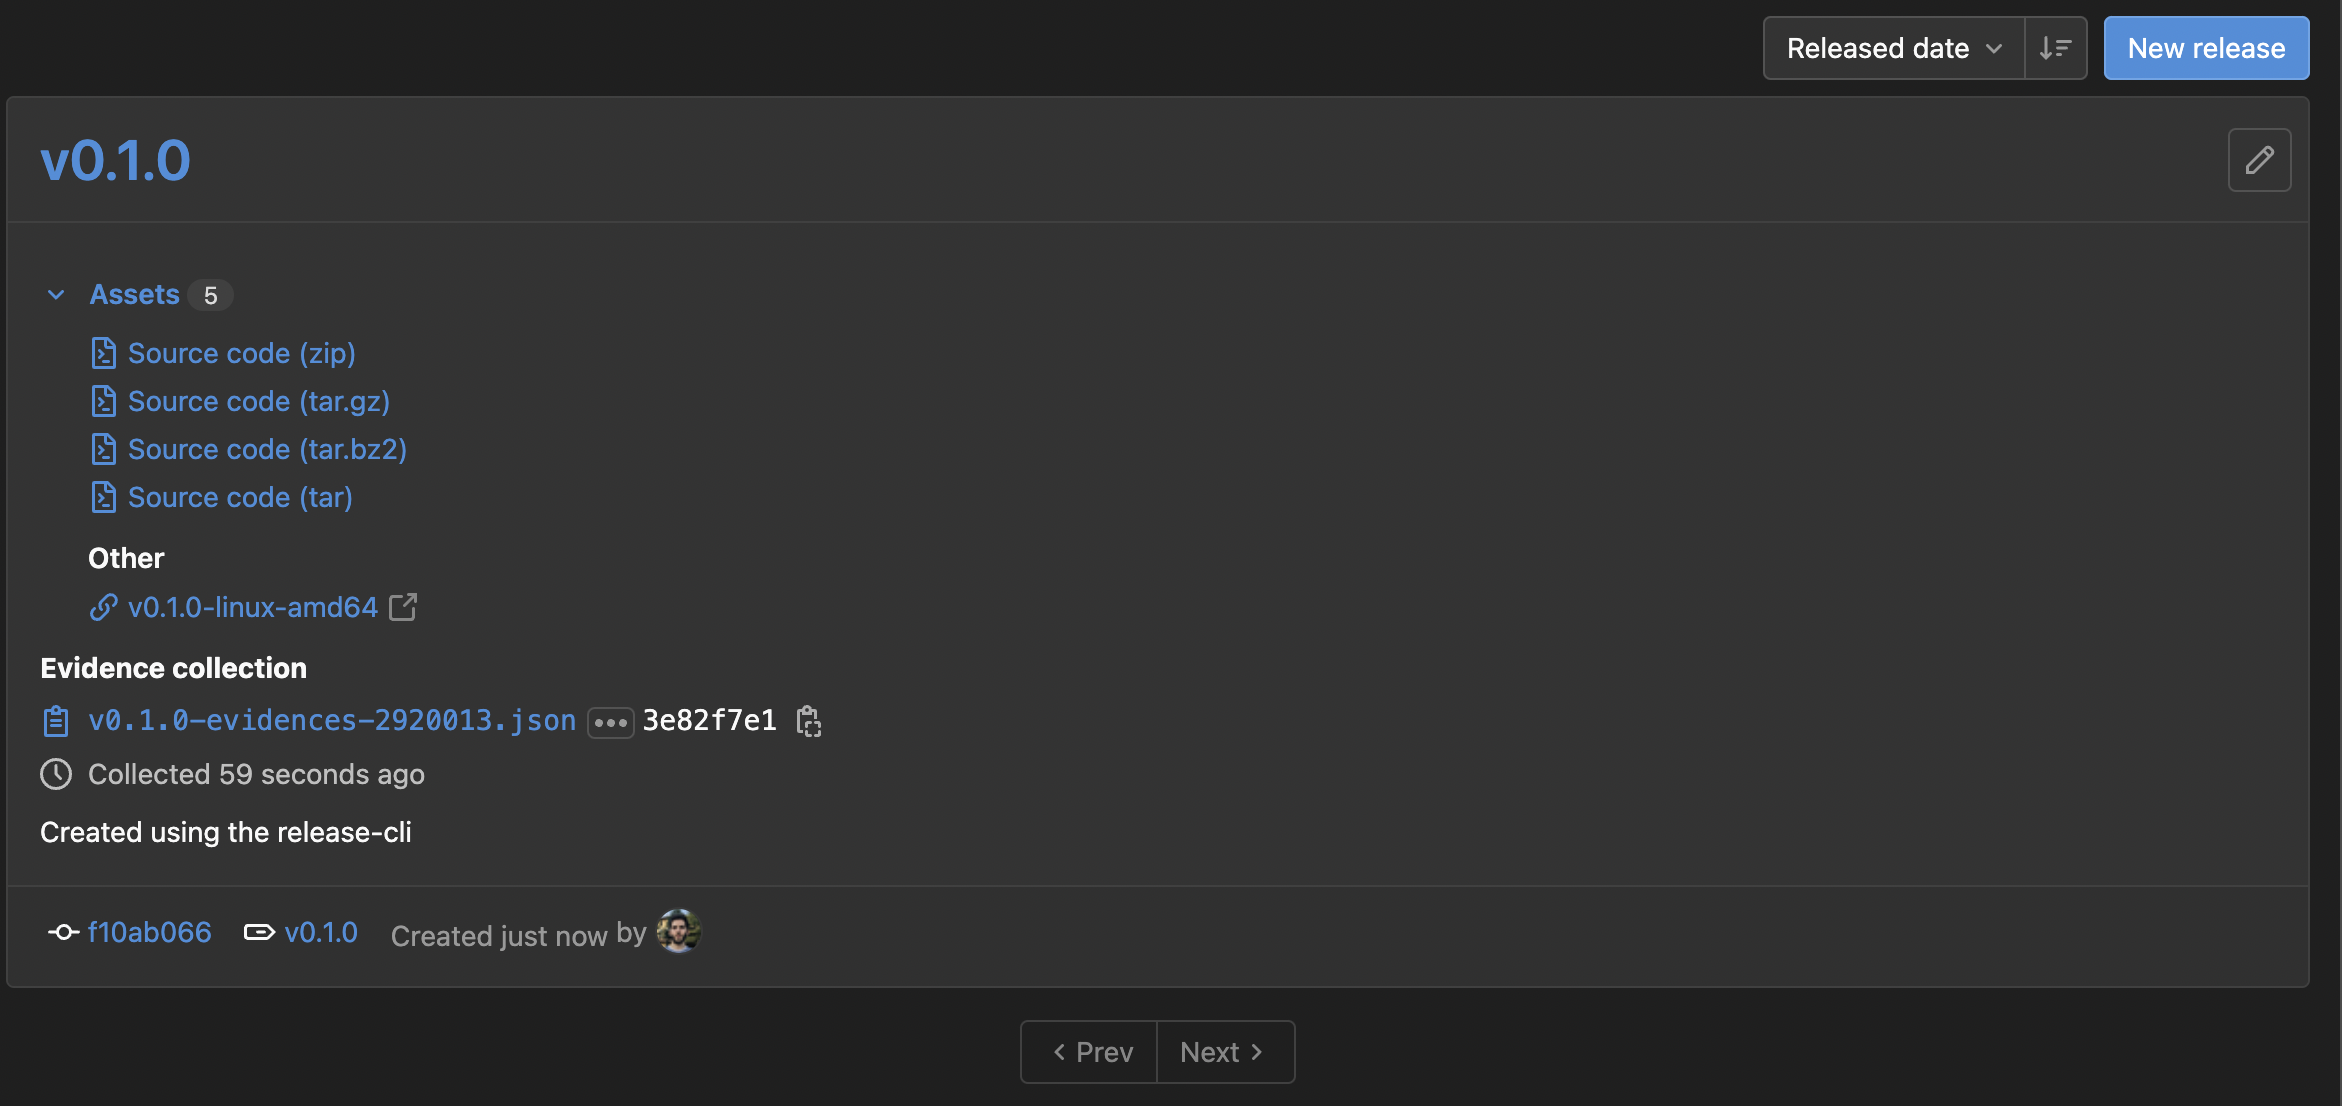
After that, if we push a release tag to GitLab, we can see that a release is created.

Releases
Uninstallation
You can use commands below to uninstall the tools we setup earlier.
gitlab-runner stop
gitlab-runner uninstall
gitlab-runner unregister --all-runners
sudo rm /usr/local/bin/gitlab-runner
Wrapping Up
That’s the configuration. I hope it would be a good introduction and answers some of the questions you have. For now, we just focused on the CI, but I am planning to include CD as well, but later. Even though this seems a bit Go centric, with small modifications I think it can be used for other languages too.
Complete Configuration
stages:
  - test
  - build
  - release

.go_mod_setup:
  variables:
    GOPATH: $CI_PROJECT_DIR/.go
    GOPRIVATE: gitlab.com
  before_script:
    - mkdir -p .go
    - echo "machine gitlab.com login gitlab-ci-token password $CI_JOB_TOKEN" > ~/.netrc
  cache:
    paths:
      - .go/pkg/mod/

.go_setup:
  extends: .go_mod_setup
  image: golang:1.18.3-alpine3.16
  before_script:
    - apk add --no-cache git
    - !reference [.go_mod_setup, before_script]

test app:
  extends: .go_setup
  stage: test
  script:
    - CGO_ENABLED=0 go test -v -cover ./...

lint:
  extends: .go_mod_setup
  stage: test
  image: golangci/golangci-lint:v1.46.2-alpine
  script:
    - golangci-lint run -E gofmt

build app:
  extends: .go_setup
  stage: build
  script:
    - CGO_ENABLED=0 GOOS=linux GOARCH=amd64 go build -ldflags="-s -w" -o=./bin/$CI_COMMIT_REF_NAME-linux-amd64 .
  artifacts:
    paths:
      - bin/
    expire_in: 1 hour

create release:
  stage: release
  image: registry.gitlab.com/gitlab-org/release-cli:latest
  variables:
    FILENAME: "$CI_COMMIT_TAG-linux-amd64"
    FILE_URL: "$CI_API_V4_URL/projects/$CI_PROJECT_ID/packages/generic/release/$CI_COMMIT_TAG/$FILENAME"
  rules:
    - if: $CI_COMMIT_TAG =~ /^v(0|[1-9]\d*).(0|[1-9]\d*).(0|[1-9]\d*)$/
  script:
    - apk add --no-cache curl
    - echo "Releasing $CI_COMMIT_TAG..."
    - >
      curl
      --header "JOB-TOKEN: $CI_JOB_TOKEN"
      --upload-file "bin/$FILENAME"
      "$FILE_URL"
    - >
      release-cli create
      --name "$CI_COMMIT_TAG"
      --description "Created using the release-cli"
      --tag-name "$CI_COMMIT_TAG"
      --ref "$CI_COMMIT_TAG"
      --assets-link "{\"name\":\"$FILENAME\",\"url\":\"$FILE_URL\"}"